
 お悩みさん
お悩みさんGoogle Tag Managerのイベント計測ってどうやるの?
Google Analytics4が発表されてから久しいにも関わらず、情報が少ないですよね!
本屋でGAの本をチェックしてみたのですが、全て以前のバージョンを扱ったものでした。
今後、マーケティングの業務を自動化するにあたり、Google Analytics4と、Google Tag Manegerの活用は必須です。
そこで、今回はGoogle Tag Managerを使った、GA4のイベントを作成する方法をお伝えしていきます。
- Google Tag Manegerのイベント作成の流れ
- Google Tag Managerのタグ、トリガー作成
- GA4上でのイベント計測方法
GA4のイベントとは
初めに簡単にですが、イベントの考え方を少しだけお伝えします。
GA4では、以前のバージョン(ユニバーサル)とは違って、すべての情報をイベントで計測していくことになります。
例えば、最初から登録されているものが代表的でしょう。
- page_view:PV数
- first_visit:初めての訪問者
- scroll:ページを90%以上スクロールしたPVの値
つまり、GA4で計測したい情報は基本的にはイベントを作成して、その数値を追っていくことになります。
【テスト検証】Twitterへの遷移数を追うイベント作成
今回は試しに、Twitterへの遷移を計測するイベントを作成してみます。
(あくまで考え方をお伝えしたいので、個人個人のやりたいことに応用してください。)
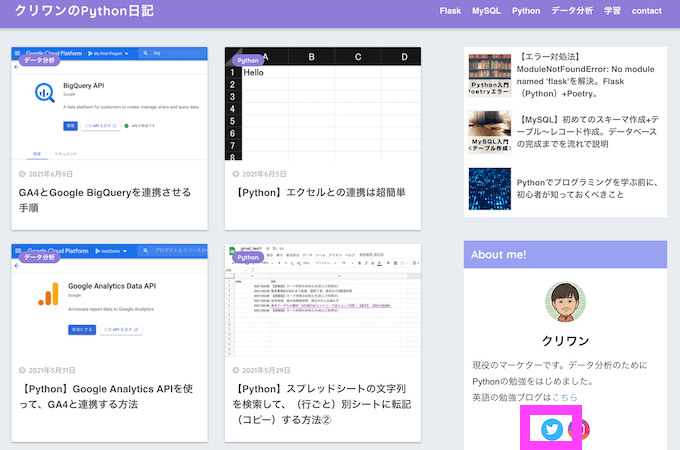
以下の画像のTwitterアイコンから、クリワン(私)のTwitterへ遷移している人がどれくらいいるのかを計測できるイベントを作成します。
(今とはTOP画面が変わっていますが、、、お気になさらず!)
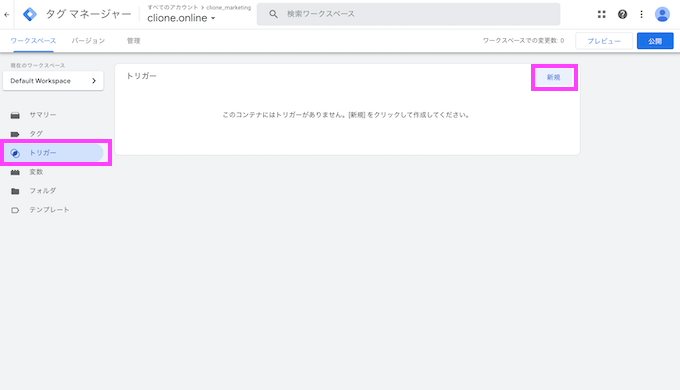
手順①:Google Tag Managerのトリガー作成
まずタグを作成する前に、トリガーを作成していきます。
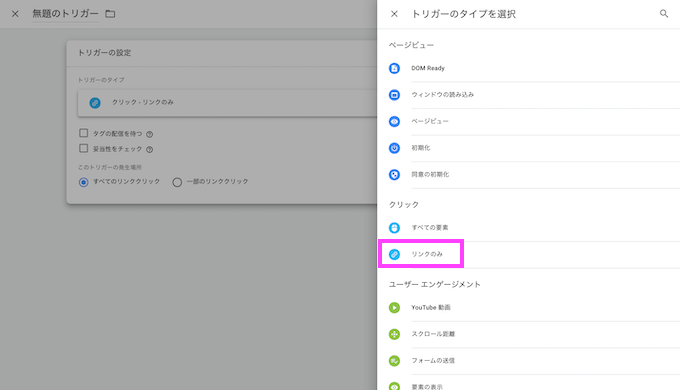
今回は、Twitterへのリンクを押した回数を計測するので、トリガータイプは、クリックの中からリンクのみを選択しました。
一部のリンククリック → Click URLに、クリワンのTwitterリンクを記入しています。
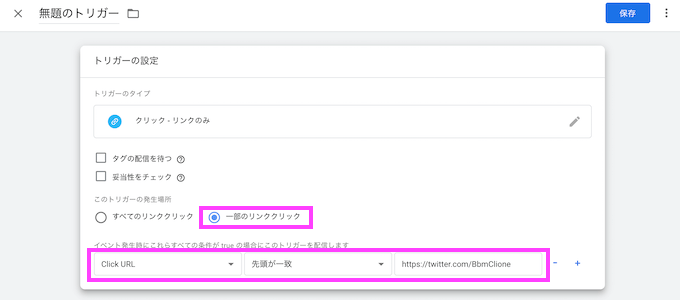
最後に右上の保存。
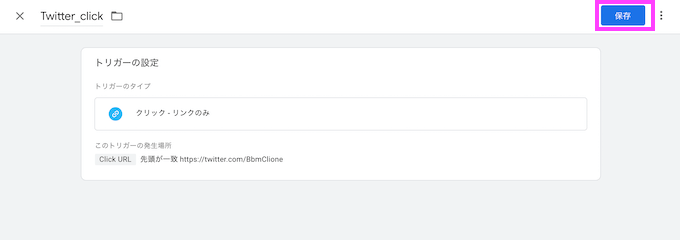
これでトリガーの作成が完了しました。
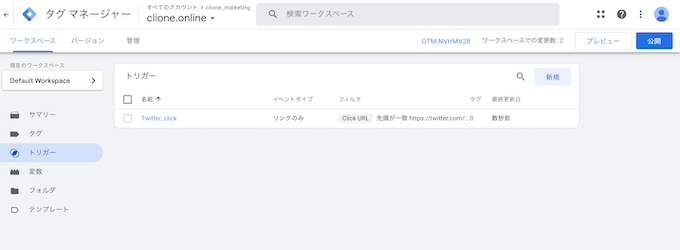
手順②:Google Tag Managerのタグの作成
今度はタグを作成していきます。
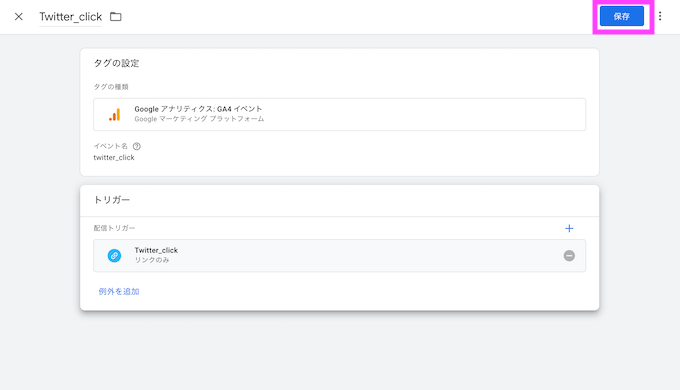
タグタイプは、GA4イベントを選択します。
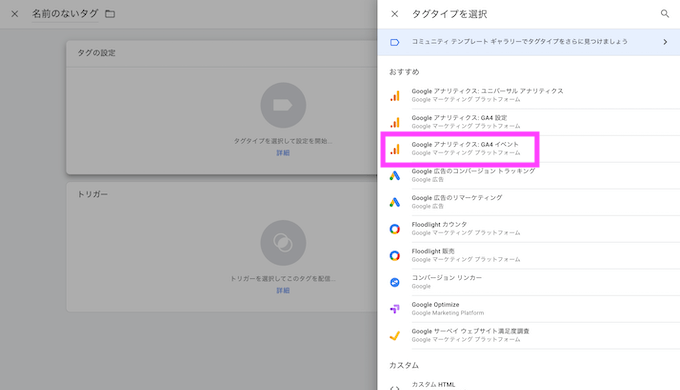
続いてタグの設定を行います。
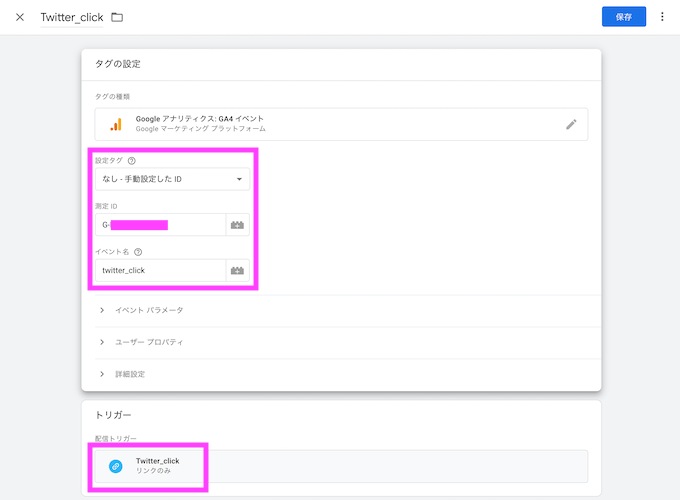
設定タグ:「GA4-設定」の方を選択すれば問題ないです!
(画像では「なし」になっていますが、、、GA4-設定で問題ありません。)
イベント名は、好きなもので構いません。今回は、twitter_clickにしています。
トリガーは先ほど作成したトリガーを選択します。
保存をすれば、これでタグの作成も完了です。
GA4の測定IDの調べ方
上記では、設定タグを「GA4-設定」にしていましたが、は手動で測定IDを入力することも可能です。
(基本的にはGA4-設定で大丈夫ですが、念のため記載しておきます)
GA4の左側、一番下の歯車のマークの設定画面から、プロパティの中のデータストリームを選択します。
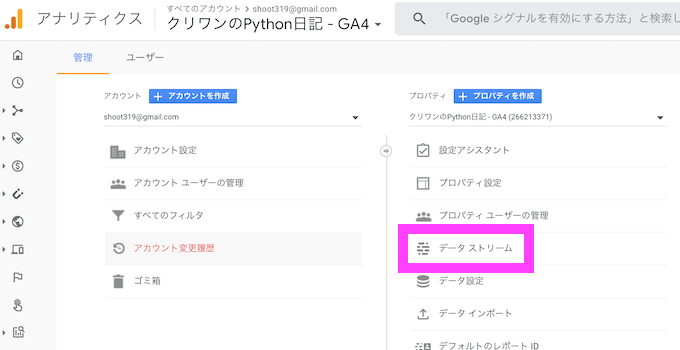
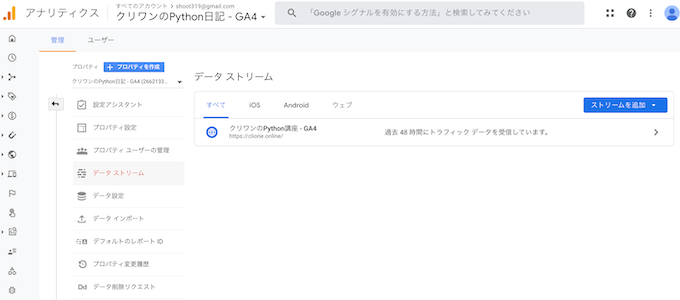
表示されたデータストリームを選択。(今回はウェブストリーム)
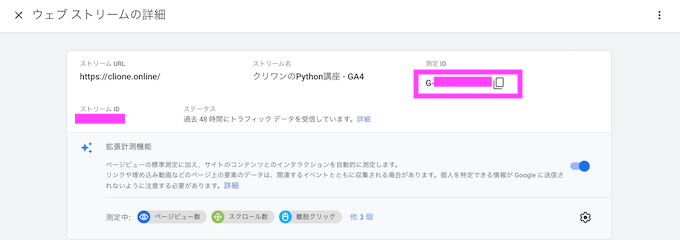
ピンクの四角で囲っているG-xxxxxxxxが測定IDです。
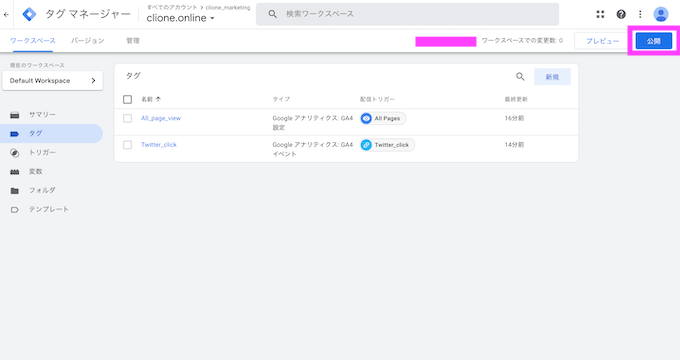
手順③:Google Tag Managerの公開
タグの作成が完了したら、公開をします。
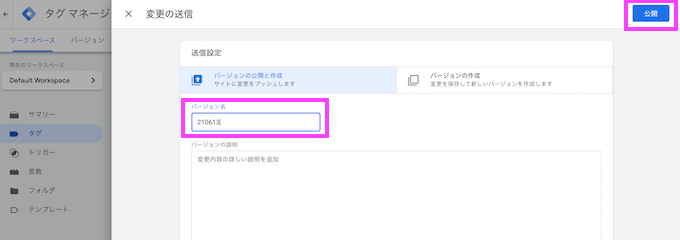
バージョン名を聞かれるので、日付など適当な名前をつけて、公開に進めます。
これで公開が完了です。
デバックチェック
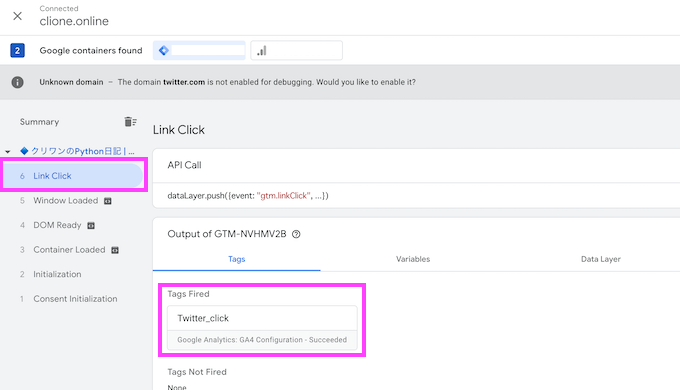
プレビューも念のため、確認します。
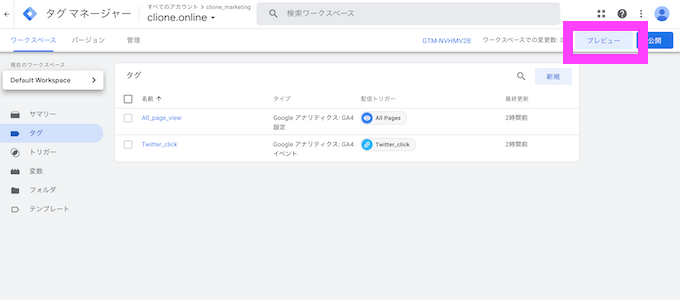
トップページはもちろん接続されています。
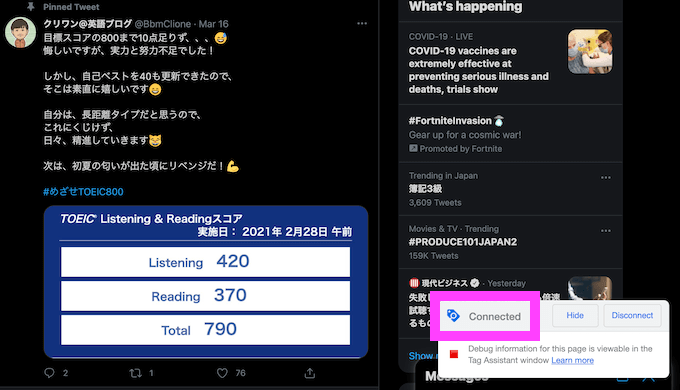
ここから、Twitterのページへ遷移してみます。

以下のTwitterページでもGoogle Tag Mangerの接続が確認できました。
タグマネージャー側でも、しっかりと発火が確認できました。
Google Analytics4でイベントの数値確認
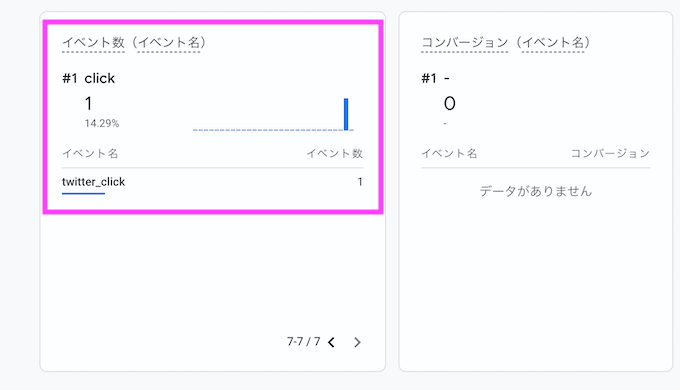
最後に、アナリティクス側でもイベントの数値がとれているかを確認してみます。
 クリワン
クリワンtwitter_click(作成したイベント名)がちゃんと計測できてる!
これでリンククリックのイベントは作成完了です。
まとめ
Google Tag Managerを使ったイベント作成から、GA4でのチェックまでを説明してきました。
GA4の測定はかなり幅広く、分析もしやすくなっている一方で、大幅な仕様変更によって慣れない方も多いはずです。
まずはイベント作成をしながら計測の幅を広げていくのがおすすめです。
ぜひ活用してみてください!

コメント